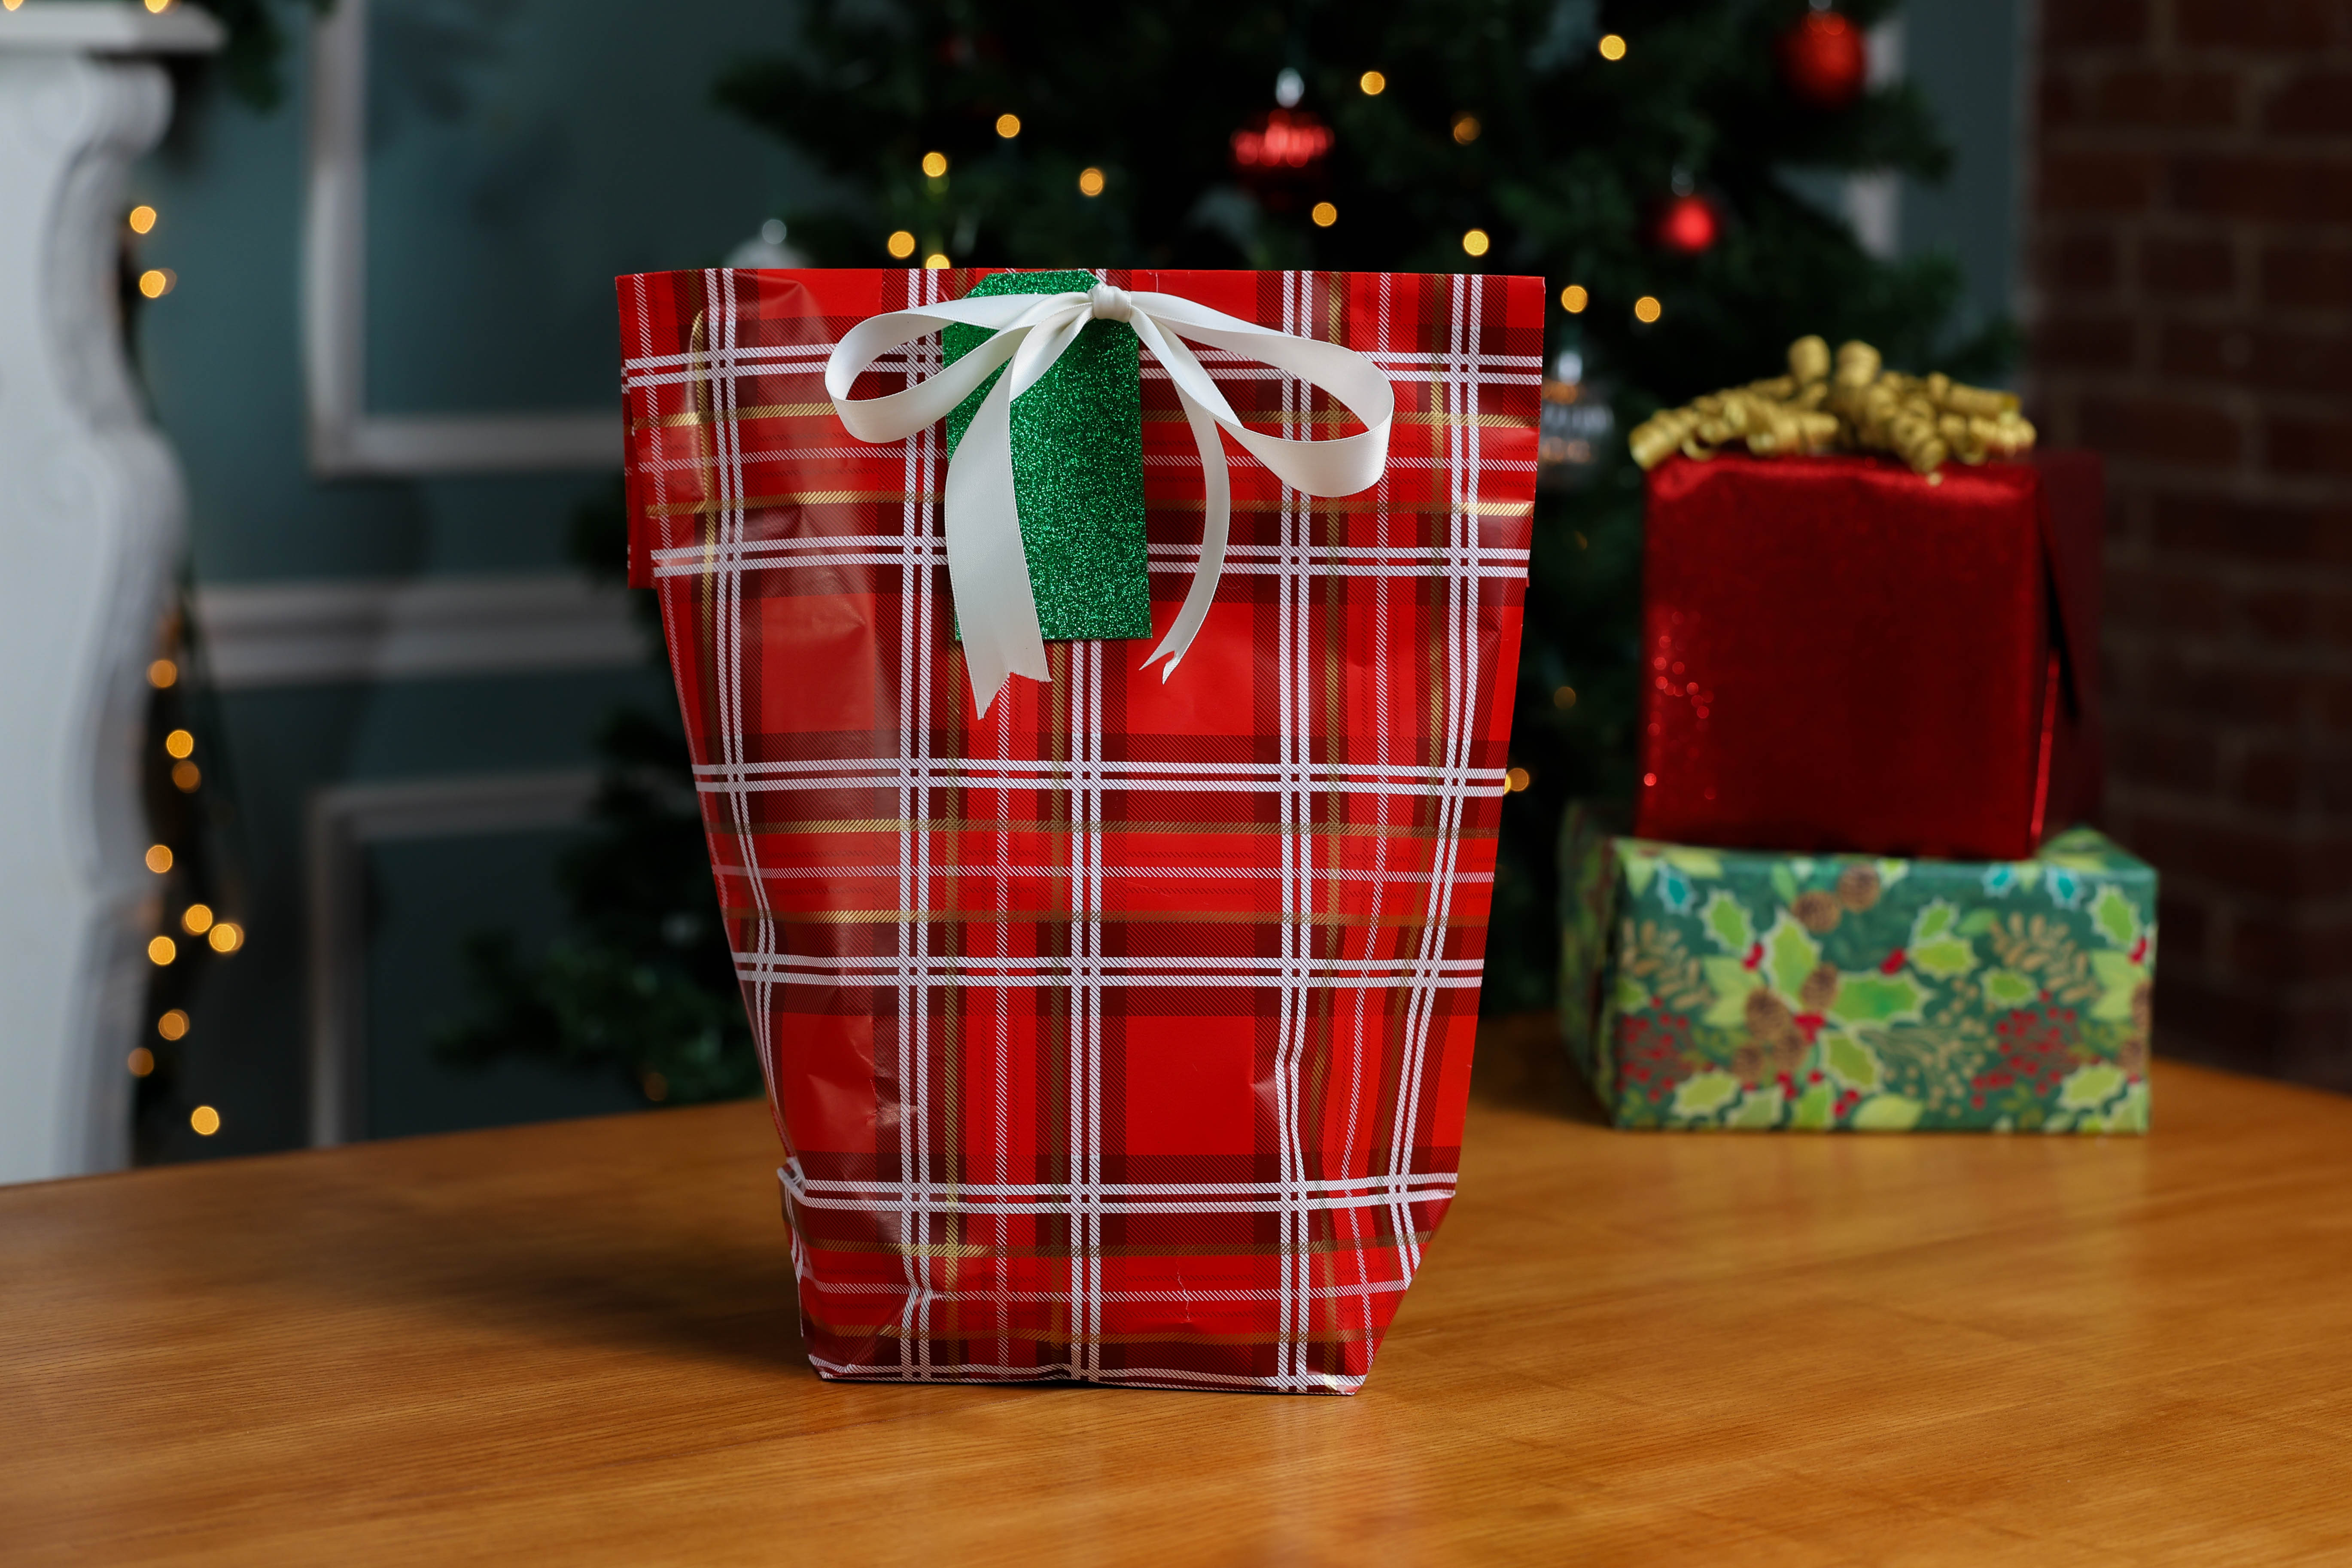
Welcome to The Little ELF Gift Wrapping Handbook, where gift wrapping is made fun and easy!
Do you ever give gifts that are oddly shaped and never know how to wrap them? Instead of just using a gift bag, use this simple step-by-step technique to create your own custom gift bag! It is a fun and easy way to wrap an oddly shaped item. Follow along to learn how to make a do-it-yourself gift bag.
Step 1: Grab your supplies

- Gift
- Wrapping Paper
- Little ELF Gift Wrap Cutter
- Little ELF Gift Wrap Tape
- Ribbon
- Gift Tag
- Hole Punch
Step 2: Measure the wrapping paper

Roll out the wrapping paper so there is enough paper to cover the entire item.
Step 3: Cut the paper

Cut your paper where the paper was measured. Use the Little ELF Gift Wrap Cutter to get an exact cut. Once the cutter is on the roll, press it upwards for an easy, straight, perfect cut every time.
Step 4: Fold the paper to the center

Let’s get wrapping! Fold each side of the wrapping paper so it overlaps down the middle of the paper by a couple inches. Don’t crease the paper quite yet.
Step 5: Check the paper size

To make sure the item will still fit, place the item on top of the folded paper. Double check to make sure there is about an extra inch of paper on each side of the item. This will confirm that the oddly shaped item will fit inside the DIY bag.
Step 6: Crease the paper

After confirming the paper is the correct size, press the edges down to fold the paper. Create a crease on both sides.
Step 7: Tape

Use a piece of tape to secure the paper together where it overlaps. Use the Little ELF Gift Wrap Tape for a secure, crisp, and perfect finish on all holiday gifts.
Pro Tip: Tape down the entire middle of the paper, so that no one can take a sneak peak of their gift before the holidays. This will guarantee you have a strong and sturdy bag.
Step 8: Fold the bottom up

Take the bottom edge of the wrapping paper and fold it about ¼ of the way up. Press along the edge to create a crease.
Step 9: Fold the end into a diamond shape

After creasing the paper at that fold, stand the paper that folds up vertically. Then, slowly press each end towards the middle. This will form a diamond shape. Press along the edges of the diamond to create a crease and make the paper lay flat on the table.
Step 10: Fold the top corner

Once you have created a diamond shape, locate the top and bottom corners of the diamond. Take the top corner and fold it towards the center of the diamond.
Step 11: Fold the bottom corner

Repeat the same folding technique to the bottom corner of the diamond. Fold the bottom corner towards the center of the diamond. This is a similar technique to closing an envelope.
Step 12: Tape

Use a piece of tape to secure those corners together in the center. This will create the bottom of the bag so be sure to use quite a few pieces of tape here so that it is strong and secure.
Pro Tip: Use four to five pieces of tape to ensure the bottom of the bag is strong enough to hold the gift inside.
Step 13: Open the bag

To open the bag, reach your arm in the push the bottom out.
Step 14: Put the item in the bag

Now, place the oddly shaped item in the bag. Slide the item in carefully and slowly to not rip the paper. It will fit perfectly and sit upright at the bottom of the bag.
Step 15: Crease both sides

Crease both sides of the bag. Starting at the top of the wrapping paper, crease down the side edges towards the top of the oddly shaped item.
Step 16: Fold the top of the paper

To close the bag, make a fold by bringing the top edge of the paper down and folding it down to lay flat against the paper.
Step 17: Continue to fold towards the item

Depending on how much extra paper you have at the top of the gift, fold the paper one or two more times to create the top of the bag.
Step 18: Finish the bag

At this step, the bag can always be taped closed and placed under the tree. However, take a look at the next step for an impressive and perfect finish.
Step 19: Create two holes

Add a ribbon and tag to the top of the bag for the perfect finishing touch to this gift wrap. Use a hole punch to make two holes, about an inch apart, in the middle of the top edge of the bag.
Step 20: Add ribbon

Take a piece of ribbon and feed it through each hole.
Pro Tip: Use a piece of ribbon double the length of the height of the gift for the perfect sized bow.
Step 21: Add a gift tag and tie a bow

Hang a gift tag on the ribbon for a perfect personalized touch. Tie the ribbon into a bow for the perfect finishing touch and your gift bag is complete!
That's it!
The next time you’re trying to wrap an oddly shaped gift, remember a hack can be a fun and easy way to save a gift bag!
For a step-by-step video guide of this gift wrap, check out the how-to video guide. For more fun and easy gift wrapping hacks, check out our entire Little ELF Gift Wrapping Handbook!

