Welcome to The Little ELF Gift Wrapping Handbook, where gift wrapping is made fun and easy!
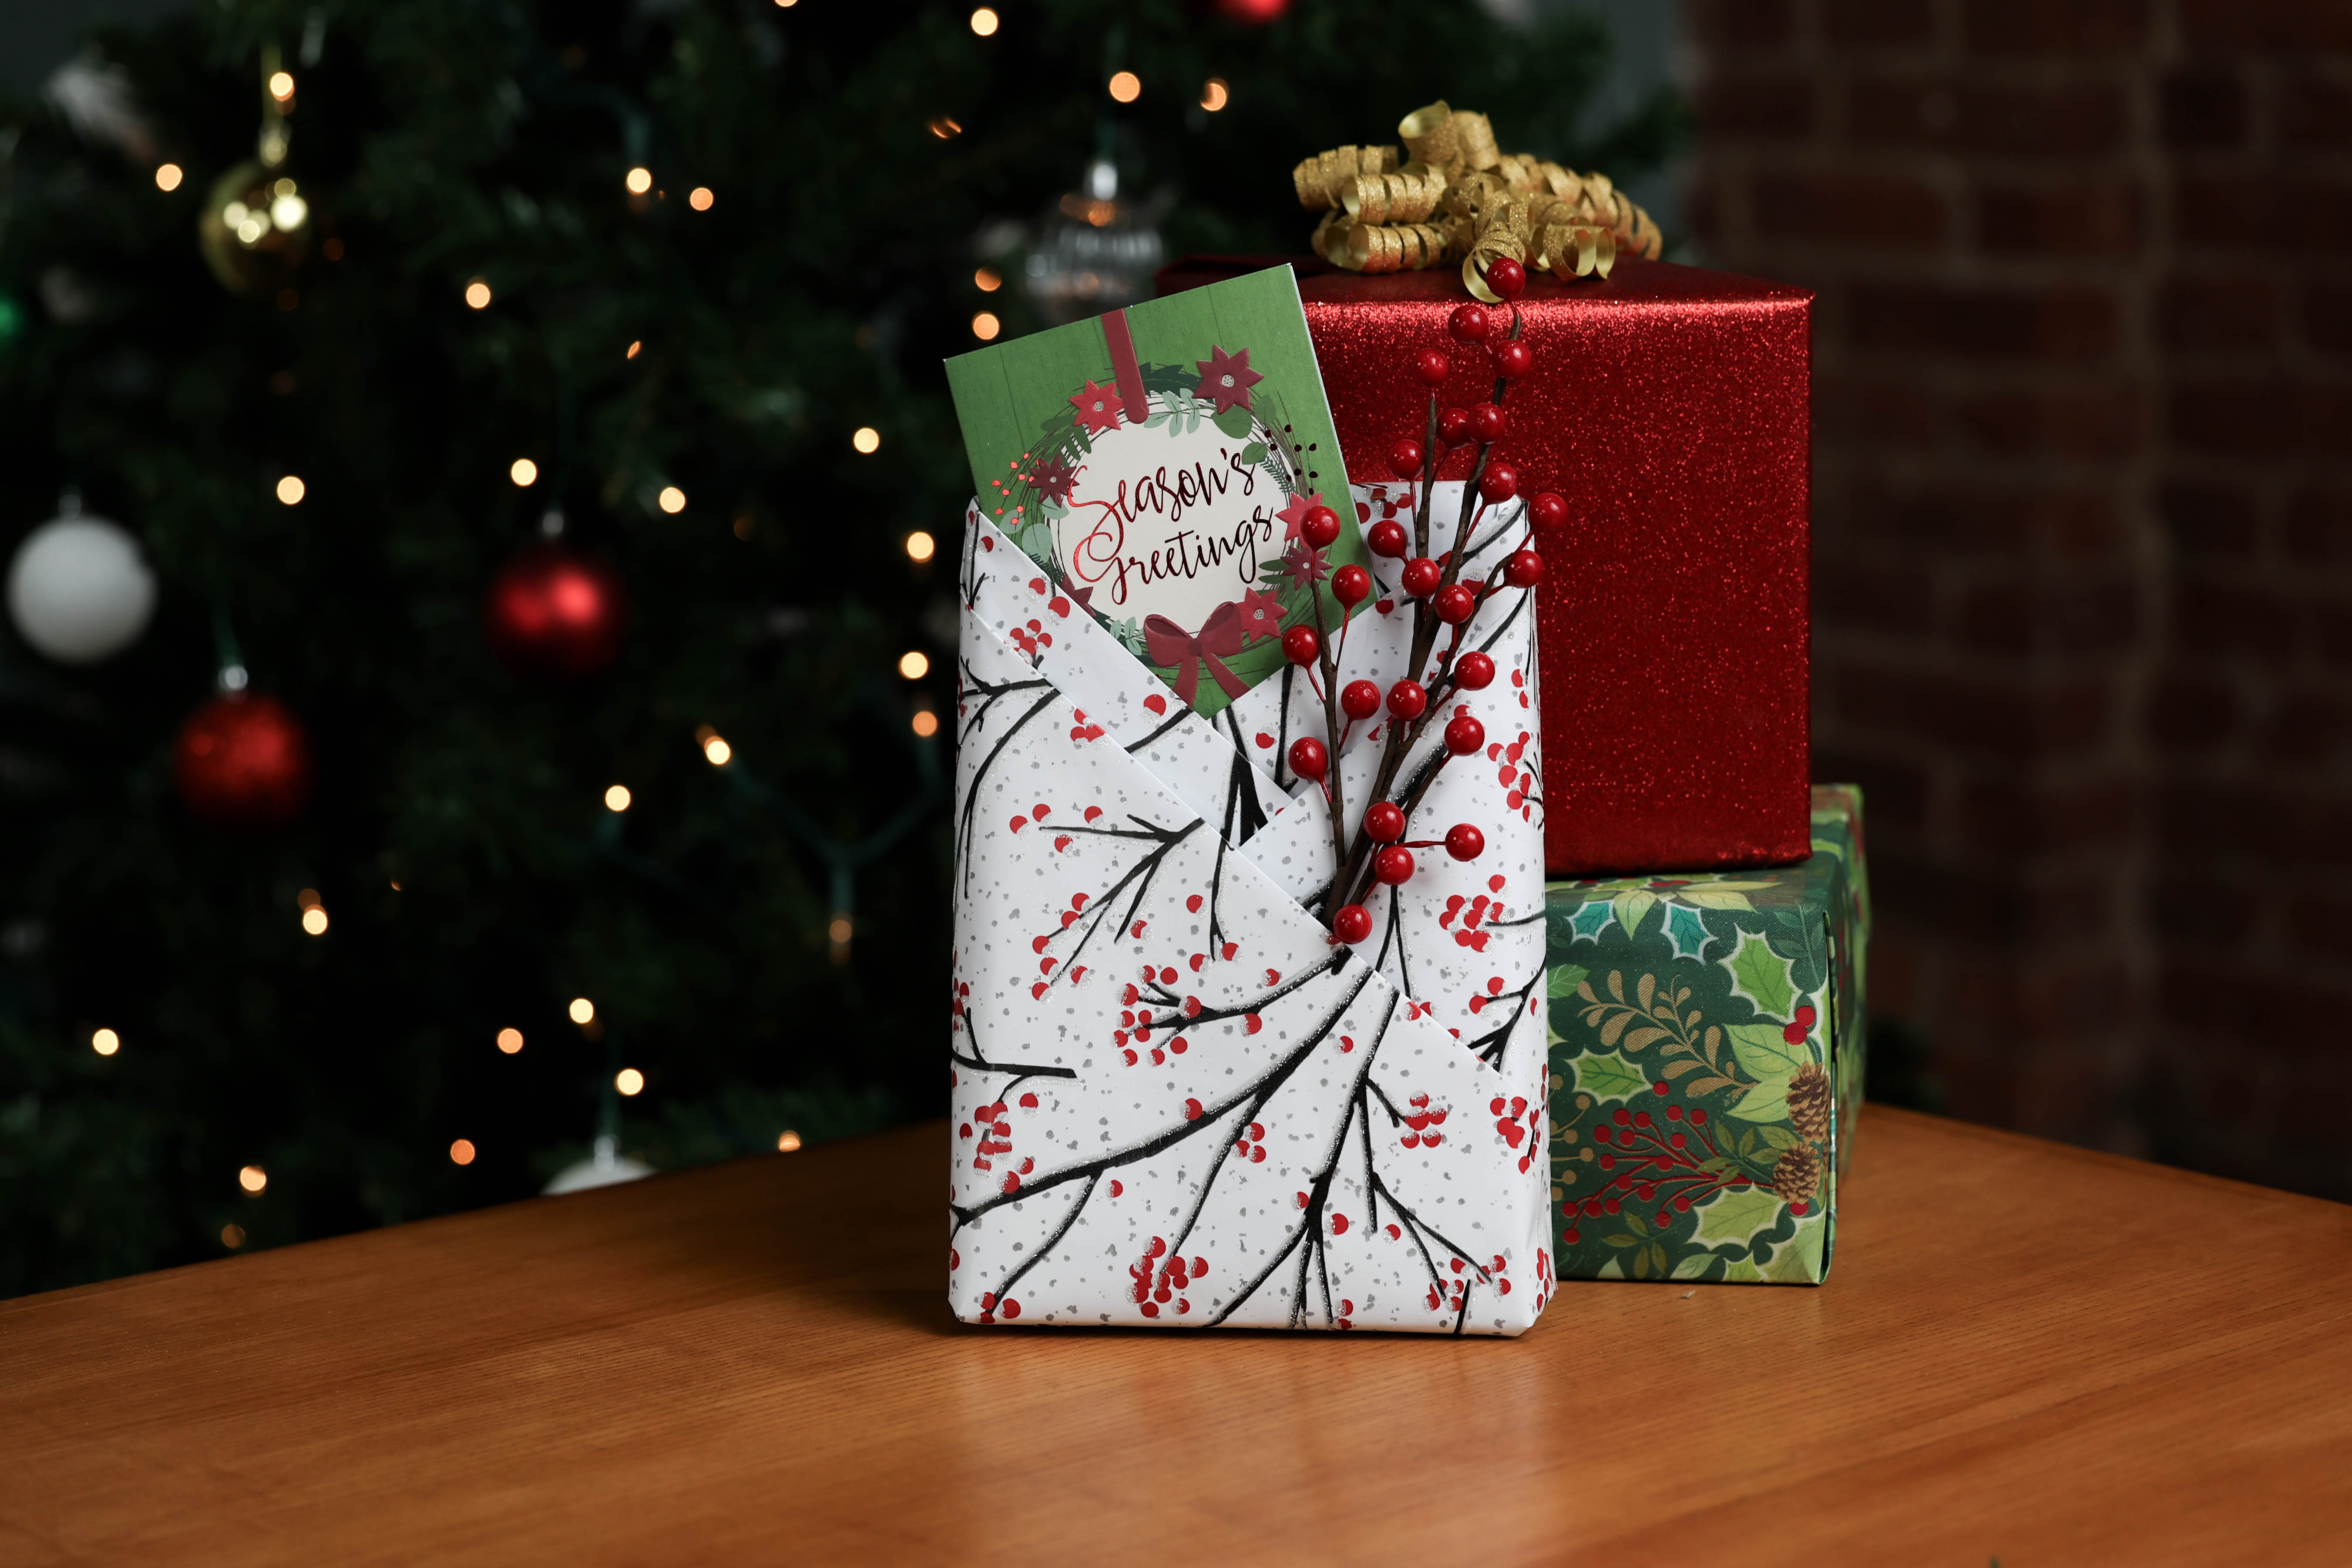
If you are gifting a book this holiday season, you have to try this creative gift wrapping technique. Make the gift wrap as special as the meaningful book inside by taking your gift wrapping to the next level. Follow along to learn how to elevate the gift wrap of a book by adding pockets.
Step 1: Grab your supplies

- Book
- Wrapping Paper
- Little ELF Gift Wrap Cutter
- Little ELF Gift Wrap Tape
- Any decorations of your choice
Step 2: Measure the wrapping paper

Roll out the wrapping paper. To measure enough wrapping paper, grab your book and lay it horizontally on top of the rolled out paper. Make sure there is enough wrapping paper to cover three quarters of the book.
Step 3: Cut the paper

Once the paper is measured, cut the wrapping paper. Use the Little ELF Gift Wrap Cutter to get an easy, straight cut every time.
Step 4: Trim the paper

The paper will likely be four to five inches too long. Trim the paper now. The Little ELF can also help you easily trim a straight line. To trim using the Little ELF Gift Wrap Cutter, line up the blade of the Little ELF with the edge of the paper and press forward.
Step 5: Fold the paper over top

Make sure the book is placed vertically on the paper, with the cover of the book facing you. Adjust the book on the paper so there is more paper above the book than below it, so that there is enough paper to be able to fold the paper over the top to cover three-quarters of the book. Also, there should be about an inch of extra paper at the bottom. Once the book is placed correctly on the paper, take the top edge of the wrapping paper and fold it over the top of the book so that it covers about three quarters of the book.
Pro tip: Do not tape the wrapping paper to the book to preserve the cover of the book.
Step 6: Create two triangles on the right side

Grab the middle of the right side of the wrapping paper. Pull the center of the paper towards the bottom corner of the book. This will create two triangles in the paper that will lay on top of each other.
Step 7: Fold the top triangle over top of the book

Take the top triangle and fold it over the top of the book. Once it is folded over the top of the book, crease this triangle onto the book so that it lays flat to the cover and is nice and neat.
Step 8: Create the triangles on the other side

Repeat the same technique on the other side. Take the middle of the paper on the left side and pull the center down towards the bottom of the book, again creating two triangles.
Step 9: Fold triangle on top of the book

Fold the top triangle on the left side over the top of the book. Crease it onto the top of the book. That has created the first pocket. Nice work!
Step 10: Repeat folding technique on the first side

Using the same technique, go back to the first side. Fold the triangle that remains on to the top of the book the same way you did the first time to begin to create the second pocket. Press the triangle onto the top of the book and crease.
Step 11: Fold the final triangle

Repeat this process on the other side one last time. This is the final triangle and will help create the final pocket of this gift wrapping technique. Fold that triangle over the top of the book and press it flat by creating a crease in the paper.
Pro Tip: Be sure to crease all these folds very well. All of the triangles will lay flat on the book. That will ensure the wrap has a neat, clean, and professional look.
Step 12: Tape the flap

Use Little ELF Gift Wrap Tape to secure the final flap down. Use a small piece of tape on the side of the book to make sure the pockets stay in place. Now, you will be able to see the folds on top of the book that have created the pockets of this gift wrap.
Step 13: Wrap the bottom of the gift

All that needs to be done now is to finish wrapping the bottom side of the gift. Wrap the bottom just as you do a typical gift wrap. Begin by pressing the sides of the paper down towards the edge of the gift.
Step 14: Fold the bottom up

One small adjustment for this specific wrap when wrapping the end of the gift, fold the bottom of the paper up towards the front of the book first.
Step 15: Fold the top down

Then, fold the top flap down away from the front of the gift, making sure to fold away from the side of the book with the pockets.
Step 16: Secure with tape

Step 16: Decorate as desired

There are so many fun ways to finish this wrap. To elevate this gift wrap to the next level, add a card, flowers, ribbon, bow, or any other decoration. There is so much room for creativity and personalization so just grab some supplies and have fun with it!
That's it!

Now, you have learned a creative and unique way to beautifully wrap a book! By following these simple steps, you can elevate the gift wrapping of a book to be as special as the meaningful book inside.
For a step-by-step video guide of this gift wrap, check out the how-to video guide. For more fun and easy gift wrapping hacks, check out our entire Little ELF Gift Wrapping Handbook!
